

Inflatable SUP Setup Steps
Inflatable SUP Setup Steps
Setting up a THURSO SURF inflatable SUP is quick and easy, and it's something anyone can do in about ten minutes. In this iSUP setup guide, we'll take you step-by-step through the entire setup process and show you just how simple it really is.
After that, we'll also show you exactly what to do after you're done paddling and are ready to pack your board back up. Getting your board deflated and packed into the THURSO SURF iSUP backpack is even easier!
Contents
- STEP 1: Unpack and unroll your THURSO SURF iSUP
- STEP 2: Unscrew the valve cap
- STEP 3: Set the valve position to CLOSED
- STEP 4: Attach the pump's inflation hose
- STEP 5: Set the pump to dual-action mode
- STEP 6: Place your feet on the pump and begin pumping
- STEP 7: Flip the switch to single-action mode
- STEP 8: Stop pumping when you reach 12-15 psi
- STEP 9: Disconnect the pump hose from your board
- STEP 10: Screw on the air valve cap
- STEP 11: Attach the SUP leash
- STEP 12: Install the fins
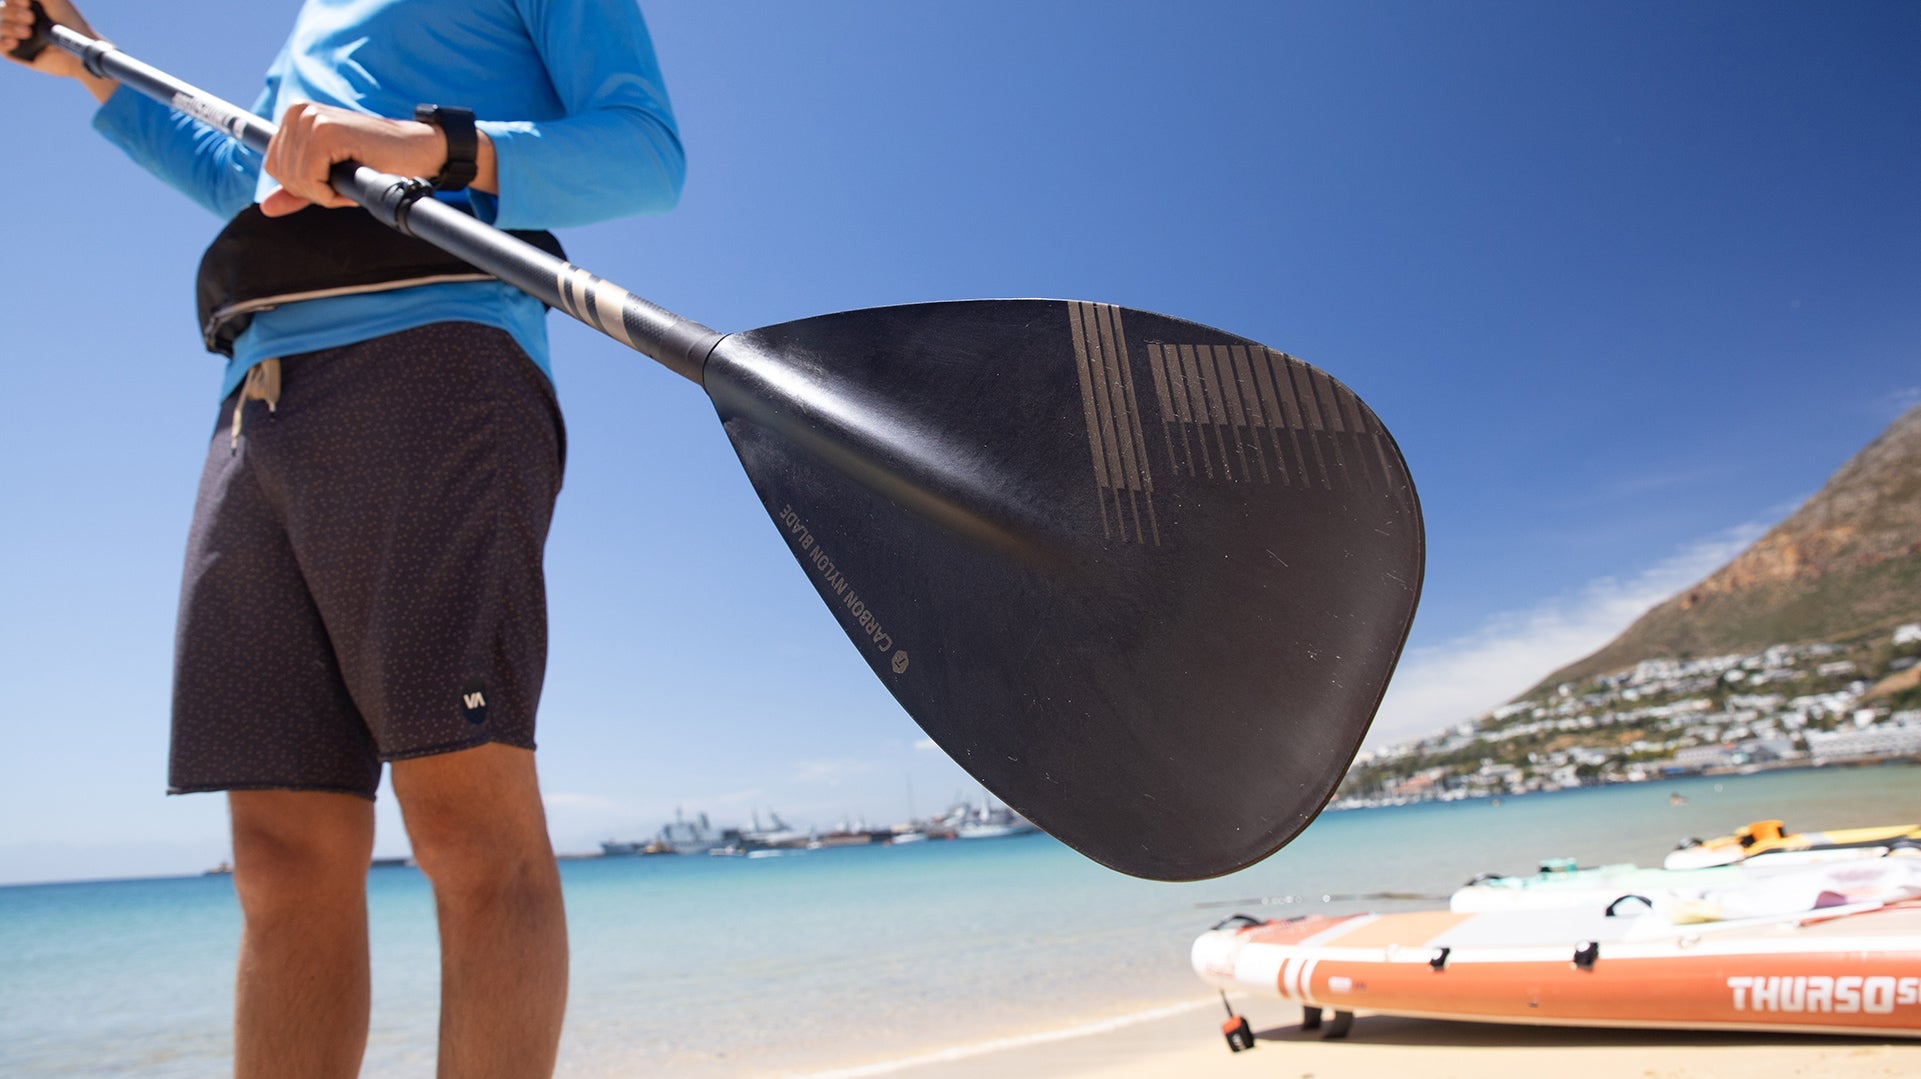
- STEP 13: Assemble and adjust the 3-piece carbon shaft paddle
- STEP 14: Clean and rinse off your board
- STEP 15: Detach the accessories
- STEP 16: Deflate the board
- STEP 17: Roll up the board
- STEP 18: Disassemble the paddle
- STEP 19: Pack up
- Alternative: Store it Inflated
- Conclusion
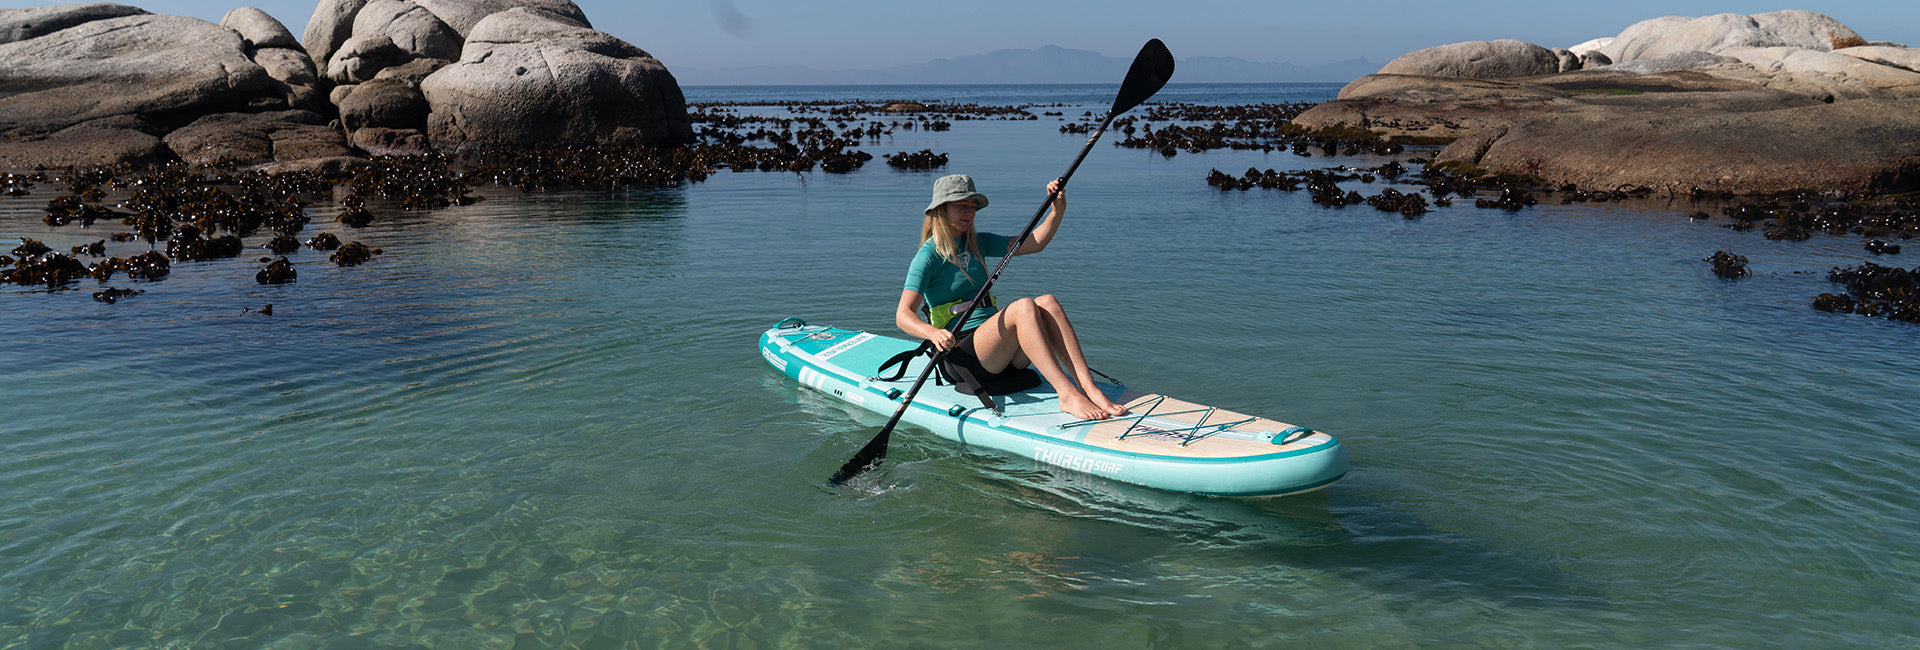
Setup up your iSUP
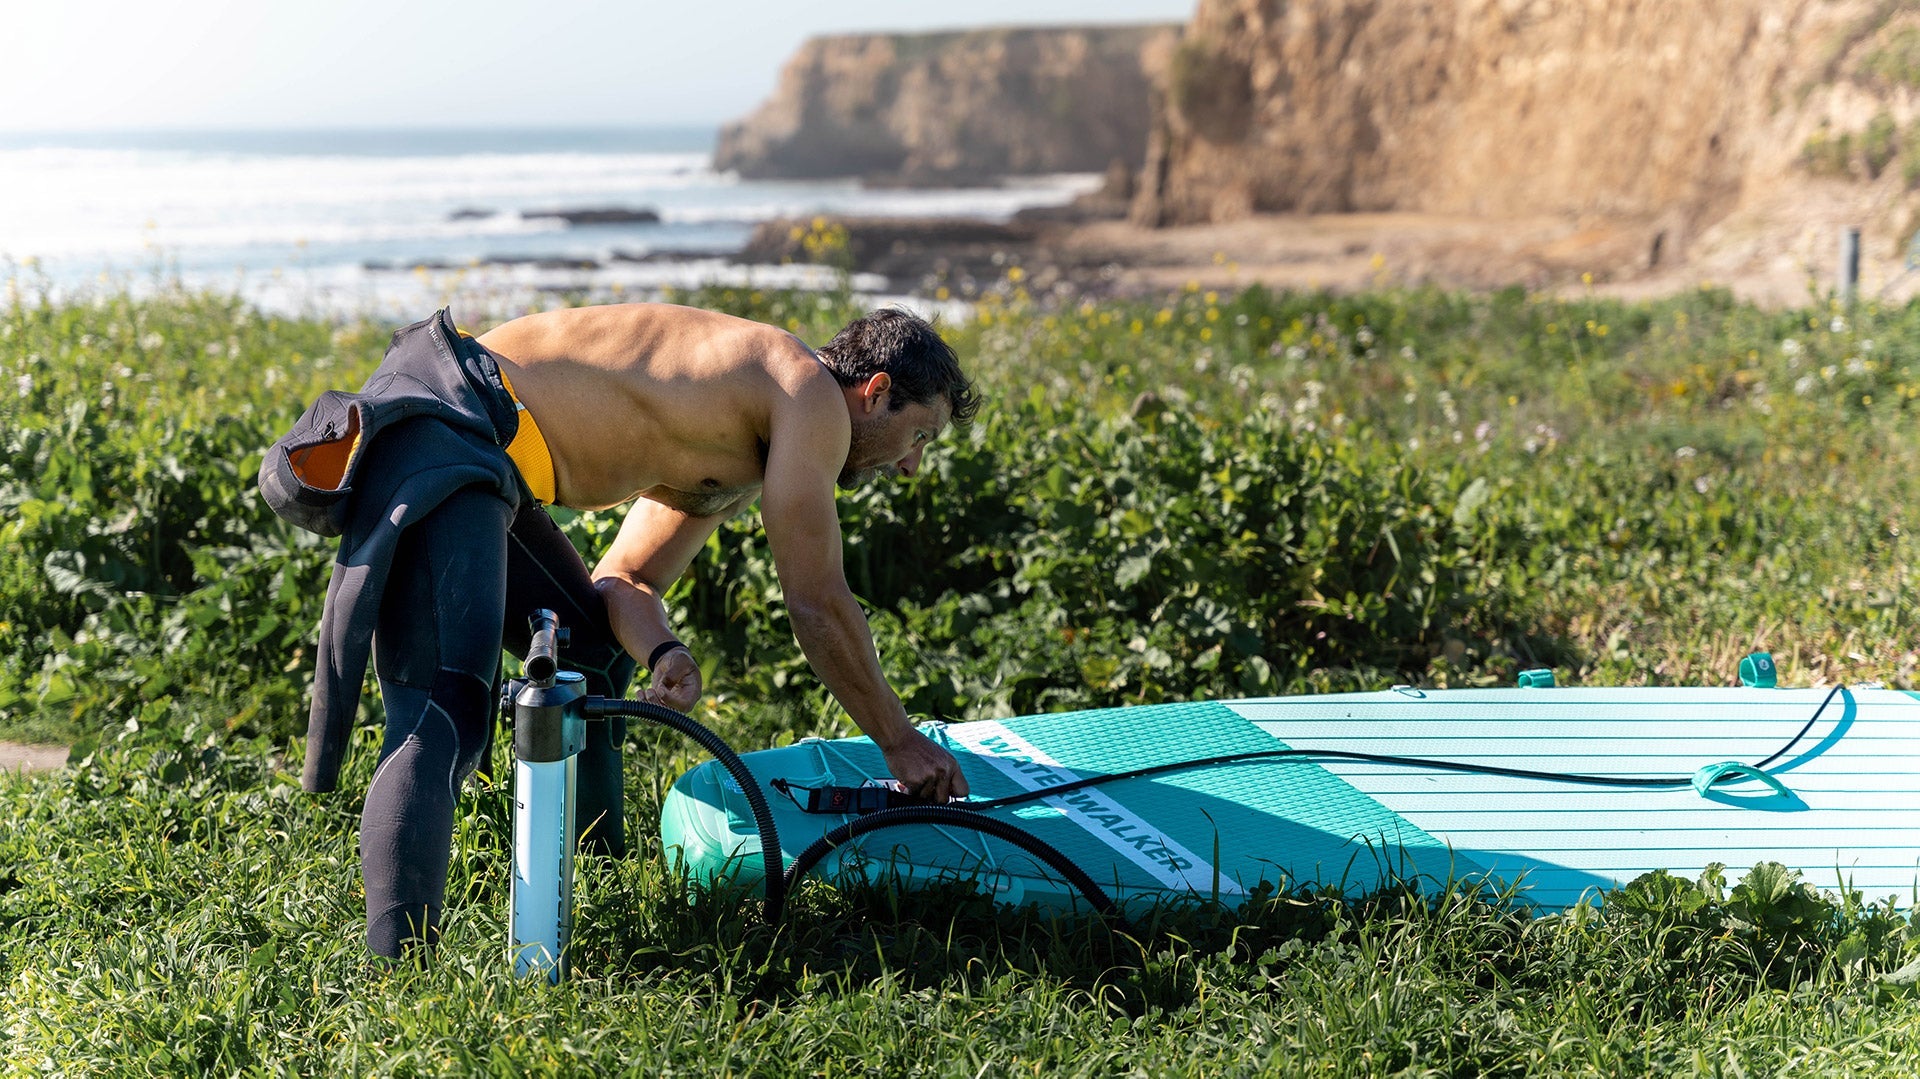
Before you are ready to hit the water on your new paddle board, you have to get it inflated. The process is fast, easy, and will only get easier the more you do it. Here's a quick guide if you are paddle boarding for the first time, so that you can easily understand how to do it the right way.
It's important that you learn to inflate your stand up paddle board properly the first time. Nailing the process ensures that you aren't over or underinflating the board, which can cause performance and maintenance issues. So be sure to get the process right, and it'll be a breeze each time.
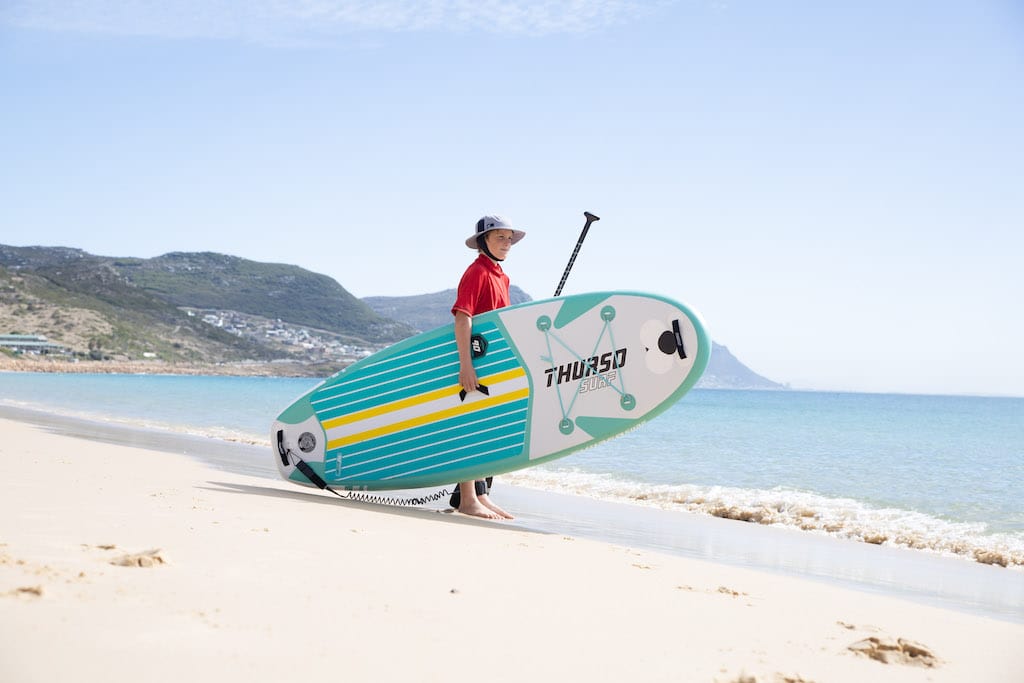
STEP 1: Unpack and unroll your THURSO SURF iSUP
Pull your THURSO SURF iSUP out of the backpack, loosen and remove the compression strap, and roll your board out flat on the ground with the deck pad facing up.
STEP 2: Unscrew the valve cap
Located at the tail of your board is the inflation valve. Unscrew the valve cap.
STEP 3: Set the valve position to CLOSED
Make sure the valve pin is in the upright position so the valve is closed. It may sound confusing but trust us; this is an important step! This is done so you won't lose air when you remove the hose later in Step 9.
STEP 4: Attach the pump's inflation hose
Included with your THURSO SURF inflatable paddle board is a dual-action hand pump. Insert the pump hose into the air valve on your board and twist in a clockwise motion until it is secured in place. This will push the pin down to allow air in. Also make sure the other end of the hose is connected to the inflation port on the pump.
STEP 5: Set the pump to dual-action mode
Your THURSO SURF iSUP pump has two modes: single, and dual-action. Flip the pump's selector switch to the dual-action mode. The ultra-efficient dual-action mode will quickly inflate your board by pumping a large volume of air at low pressure on both the up and down strokes.
STEP 6: Place your feet on the pump and begin pumping
Stabilize your iSUP pump by standing on the bottom of it with both feet. Keeping your back straight and use your arms to begin pumping to inflate your board.
STEP 7: Flip the switch to single-action mode
As you continue pumping, you'll notice increased resistance from the pump as the board inflates. When pumping becomes too difficult in dual-action mode, simply flip the switch to single-action mode and finish inflating your board to the recommended pressure of 12-15 psi. Unlike dual-action mode which inflates on both up and down strokes, single-action mode will only pump air on the down strokes, which is easier as you can take advantage of your body weight.
STEP 8: Stop pumping when you reach 12-15 psi
Once the needle on the built-in pressure gauge reaches 12-15 psi, you can stop pumping. Inflating to 12 psi versus 15 psi will only give you a slight difference; you can decide what pressure to go. Don't go beyond 15 psi.
STEP 9: Disconnect the pump hose from your board
Your THURSO SURF inflatable SUP is now fully inflated. Give the pump hose a quick counterclockwise twist to disconnect it from the valve. You'll hear a brief but loud snap of air as it disconnects. Remember in Step 3 when we made sure the pin was in an upright position? Removing the hose allowed the pin to return to this position, preventing the air from escaping.
STEP 10: Screw on the air valve cap
Place the valve cap over the board's air valve and screw it on securely.
STEP 11: Attach the SUP leash
Your THURSO SURF board comes with a SUP leash. To attach the leash, open the velcro folds at the end of the leash, remove the looped cord, and then slide the cord through the D-ring at the board's tail. Bring the cord up through the loop to securely attach it to the D-ring. Then fold the velcro over the cord.
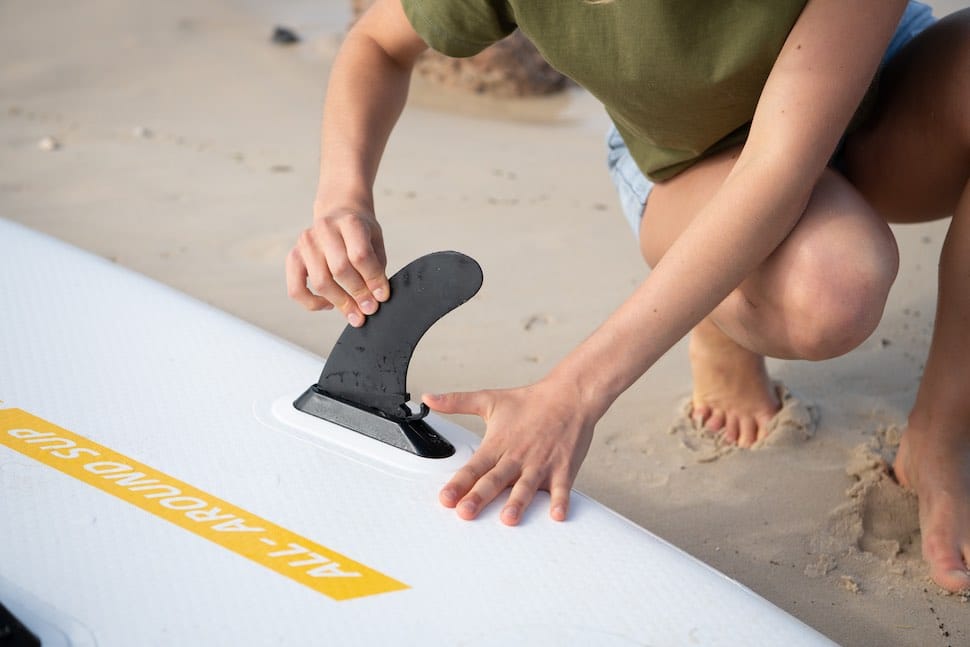
STEP 12: Install the fins
Your THURSO SURF iSUP includes a 2+1 fin set that is a breeze to attach, thanks to our Quick Lock tool-less fin system. To install the fins, simply line the notches in the fin box up with the plastic pins on the fin, insert the fin, make sure it's securely into place, and then push down on the locking tab at the rear of the fin box.
STEP 13: Assemble and adjust the 3-piece carbon shaft paddle
Last but not least, it's time to assemble the 3-piece THURSO SURF carbon shaft paddle that came with your board.
First, take the piece with the paddle blade and flip open the clasp on the opposite end. Next, take the middle piece of the paddle's shaft and insert the tapered end into the end of the piece with the blade. Close the clasp to secure. Lastly, take the third piece of the paddle with the plastic handle on one end, and insert it into the end of the middle piece after opening the locking clasp. Standing with your arm stretched straight above you, slide the handle up to your wrist, and lock the clasp into place.
Your paddle is now assembled, adjusted, and ready to use.
Pack up your iSUP
Once you are done paddle boarding, it's good practice to pack up your board . Of course, you don't have to do this if you have a proper place to store it. But if you are planning on being portable with your new SUP board, then packing it into the bag is the best way to go. Here's how to do it to keep your board secure and unharmed:
STEP 14: Clean and rinse off your board
It's important to remove sand, dirt, or any other residues that remain on the board, by wiping it off with your hand or a towel. Then, rinse your board off with fresh water. We'd also recommend giving it a quick wipe down with a towel or chamois to dry it before rolling it up.
STEP 15: Detach the accessories
You'll want to remove the three fins. Flip the locking tab up on each of the fin boxes and lift the fins up and out. Next, flip your board back over and remove the SUP leash by opening the velcro closure.
STEP 16: Deflate the board
Unscrew the valve cap at the board's tail, press the inflation valve pin down and make sure it stays in the open position. Use caution, as the initial rush of air will be loud and powerful. Let the air leave the board on its own. After a minute or two, you can use the pump to extract the remaining air out. This time, use the deflate port on the pump.
A complete deflation will minimize the board volume and help you store it. After deflation, close the air valve and screw the valve cap back.
STEP 17: Roll up the board
Now you can begin rolling up your board. Starting at the board's nose, roll the board tightly towards the tail. The tighter the roll, the easier it will be to place it in the bag. Last but not least, place the compression strap around the middle of your rolled up board and tighten it.
STEP 18: Disassemble the paddle
To take your paddle apart, flip open the two locking clasps and pull the three pieces apart.
STEP 19: Pack up
The final stage is to pack everything, the board, leash, fins, pump and everything else into the carry bag, and you are all done!
Alternative: Store it Inflated
We understand that a huge benefit of having your inflatable paddle board is to be able to roll it up and pack it away for easy transportation and storage. However, if you don't feel like going through this process every time, there's always the option to store it inflated. Many prefer to store it while inflated, and only pack it away for flights, travel and long-term storage.
Your board is resilient, and can handle being stored in a variety of conditions. However, we strongly recommend that you store your board in a covered, cool area. Sun damage is a real thing for most products and an iSUP is no exception. You want to keep your board dry and cool in an area such as a shed, a garage, or inside your house or apartment.
Additionally, be sure that you rinse, clean, and dry your board properly before storing it. Salt water is corrosive and can shorten your board's life. Remove any sand, dirt, or salt water before rinsing, and then dry off with a towel before storing.
Whether you feel like storing it inflated, deflated, or both on different occasions, it's up to you! Find a method that works best for you, because the main thing is that you enjoy getting out on your paddle board.
Conclusion
Thanks for reading our easy guide on setting up and packing away your inflatable board. As you can see, the process is quick and easy. However, there are a few small details that are important to know the first time you do it. So pay careful attention to the process mentioned above, and be sure that you nail it from the get go.
Once you are familiar with this process, it becomes second nature. It is quick, easy, and you can reap the benefits of paddling without having to worry about lugging around a large solid board. Have fun out there!


I never received an order confirmation
Heya Howard,
That doesn’t sound right. Shoot us a quick note at contact[at]thursosurf[dot]com with a photo of your valve and pump adapter and we’ll see if we can sort out what might be causing the issue. Thanks for the heads up!
Keep paddling,
Matt
Social @ Thurso Surf
Our pump no longer stays connected to the board when inflating or deflating. Did we lose a washer or something? It is easy to replace?
Hi Miranda,
It’s not necessary to disassemble the pump if you don’t want to. It mainly depends on how tightly you roll your board. You may be able to fit the pump in without disassembling it, but the handle and base come are detachable to make it easier for you to pack everything in your bag.
Keep paddling,
Matt
Social @ Thurso Surf
Do you have to take the handles and bottom part of the pump off when stowing it away?
Leave a comment